Press Enter or Space to expand or collapse and use down arrow to navigate to the tab content
close menuopen menu
Click to read more about this recipe
Includes
Your webbrowser is outdated and no longer supported by Microsoft Windows. Please update to a newer browser by downloading one of these free alternatives.
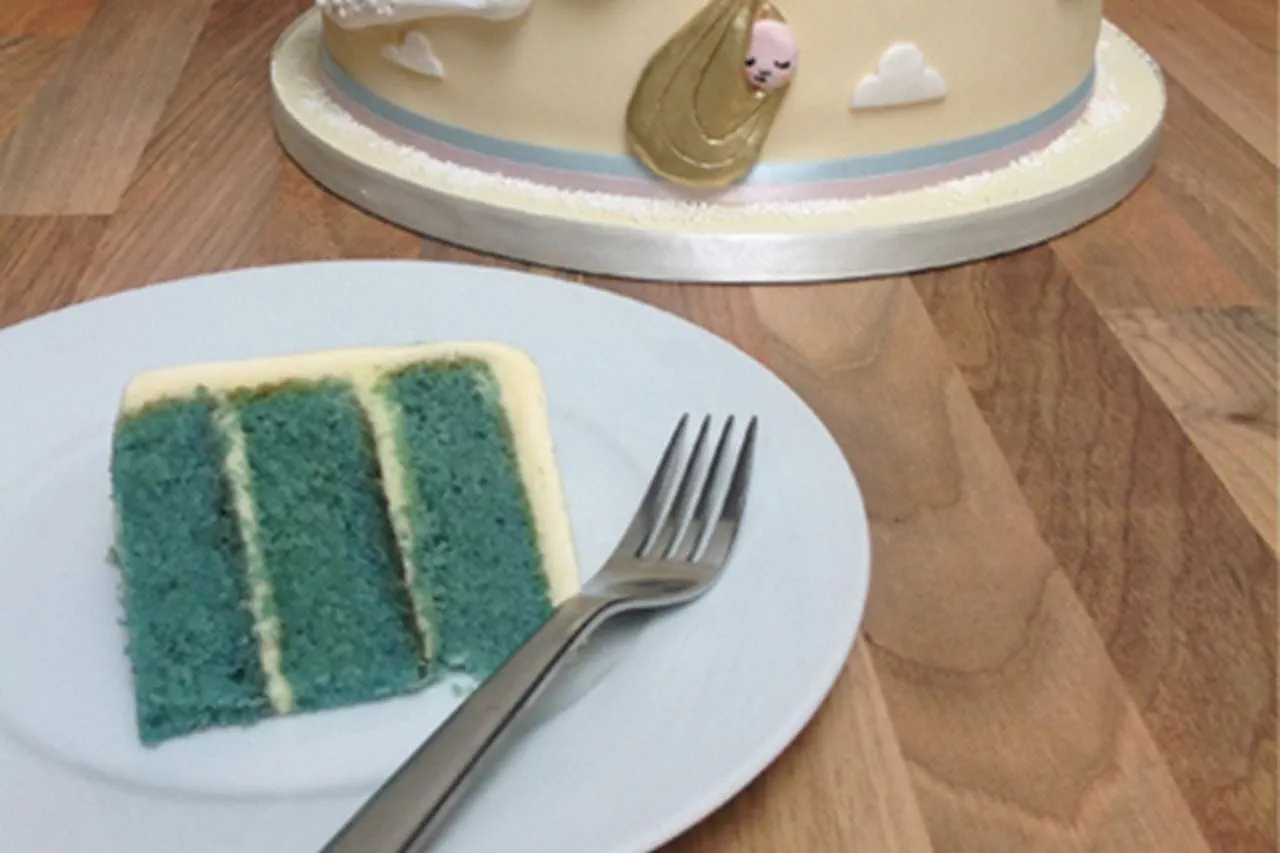
Gender Reveal Cake Recipe | Royal Baby Celebration
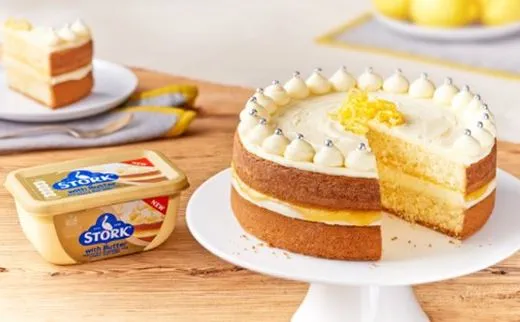
Weigh 7 eggs with their shells and then weigh out the same quantity of caster sugar, Stork and self-raising flour
Cream the Stork and sugar together
Beat in the eggs and stir in the self-raising flour
Mix in a little pink or blue food colouring to achieve the colour you want
Step 2: The 6 inch cake
Follow the same method as above but reduce the number of eggs to 4
Step 3: Cooking the sponges
Spoon the mixtures into two deep lined cake tins
Bake in the oven at 160 C for 25 minutes
Check and then bake again until ready (golden brown and springy to the touch)
Set aside on a wire rack to cool
Step 4: Sandwiching the sponges
Carefully level the sponges with a carving knife and split into two horizontally, keeping the knife as steady as you can
Take the bottom half of each sponge - which should be as flat as possible - and turn it over. This will be the top of the cake
Place the bottom half of each cake on a cake board and spread your chosen filling over the sponge Stork icing or jam (or both!) work well
Place the other half on top
Using a palette knife, smooth out the icing
Place in the fridge for at least two hours to firm up
Step 5: Icing the cakes
Add a small amount of food colouring into ready-made sugar paste (about 2kg fort the whole cake) or soft icing and knead to ensure it is well mixed in
Using a paintbrush, cover the surface of your chilled cake with water. Place it nearby so it is ready to go
Roll out the soft icing and use the rolling pin to pick up the icing
Quickly drape over the cake and smooth down with your hands
Trim the excess soft icing from the bottom and repeat for both cakes
Allow the cakes to set for two hours
Step 6: Supporting the bigger cake aka doweling (vital to support the weight of the cake above)
Work out where the dowels (which are plastic/ wooden supports) should go
One way to do this by putting a bottomless 6-inch cake tin on top of the 8-inch iced cake. This will show you how big the top cake is & where you will need to sink dowels into the bottom cake to support it
Sink about 6 full length dowels into the bottom cake. Try to make sure that they are evenly spaced with no big gaps
Mark the point at which each one pokes out of the cake with a food-safe pen and then remove them all
Find the dowel with the highest mark
Cut them all to the highest point (I use clean secateurs!) and plunge them back into the cake
Step 7: Decorating the cakes
Use royal icing and rolled-out colour soft icing to make shapes. You only need a small amount of royal icing
You can create any shapes you want (I chose to make some bunting out of icing and a stork carrying a baby)
Stick onto the cake with water
Step 8: Stacking the cakes
Place a blob of royal icing on top of the larger cake (this will act as glue)
Lift the smaller cake and position on top
Use ribbon to hide the joins between the cakes and the board
Step 9: Enjoy
Gather friends & family around
Serve your gender reveal cake with a cup of tea (or a glass of bubbly!)